How to Import Excel Files in Laravel 13: Complete Guide with Laravel Excel

Importing Excel and CSV files is one of those tasks that seems straightforward — until a client asks you to upload 50,000 rows of products. Laravel makes this workflow much easier thanks to the maatwebsite/excel package, which remains the standard in 2026 (version 3.1.69, April 2026). In this updated guide for Laravel 13 we’ll cover installation, a working import class, validation, chunking for large volumes, and when it makes sense to use OpenSpout as an alternative.
1. Having Laravel 13 Installed
If you don’t have Laravel set up yet, check out the dedicated guide: How to Install Laravel 13. Keep in mind that Laravel 13 requires at least PHP 8.3 (8.4 in practice since Laravel 13.3).
2. Installing the maatwebsite/excel Package
With Laravel 13 running, install maatwebsite/excel. This package wraps PhpSpreadsheet and provides an ergonomic API for importing and exporting Excel, CSV, ODS, and more.
composer require maatwebsite/excel
💡 In Laravel 11+ you no longer need to manually register the ServiceProvider or alias: the package’s auto-discovery handles it for you. If you’re on a very old version of Laravel, you do need to add entries to
config/app.php, but in Laravel 12 and 13 the command above is all you need.
3. Publishing the Configuration
With the Maatwebsite/Laravel-Excel package installed in your Laravel project, it’s important to make sure the configuration is properly set up to fit your specific needs. The package ships with a set of default settings that are useful to get started, but may need to be adjusted depending on your project.
To have full control over these settings and be able to customize them, you need to publish the package’s configuration file to your application. When you do this, Laravel creates a copy of the config file in your config directory, letting you make any necessary changes without affecting the original package.
To publish the configuration file, run the following command in your terminal:
php artisan vendor:publish --provider="Maatwebsite\Excel\ExcelServiceProvider"
Running this command will create a new file called excel.php inside the config directory of your Laravel application. Opening it, you’ll find various configuration options such as export formats, memory limits, and more.
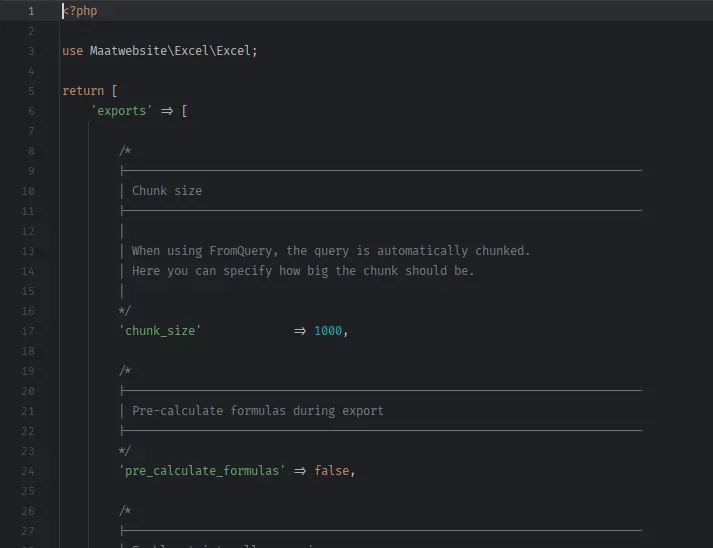
Excel.php
It’s a good idea to review this file carefully and get familiar with the available options. You don’t need to change everything right away, but knowing what’s configurable will save you time as you work through the Excel import process.
With the configuration properly published, you’re one step closer to taking full advantage of Maatwebsite/Laravel-Excel in your application.
4. Creating the Controller
Once you’ve configured the package, the next logical step is to create a controller to handle Excel import operations. In the MVC pattern that Laravel follows, controllers are responsible for business logic and user interactions, so having a dedicated controller for Excel imports keeps your code organized and modular.
To create a controller in Laravel, the framework provides a handy Artisan command that automates the process. In this case, we’ll create a controller called ExcelController.
Open your terminal, navigate to the root of your Laravel project, and run:
php artisan make:controller ExcelController
This command generates a new ExcelController.php file inside the app/Http/Controllers directory. Opening the file, you’ll find an empty class ready for you to add your import logic and methods.
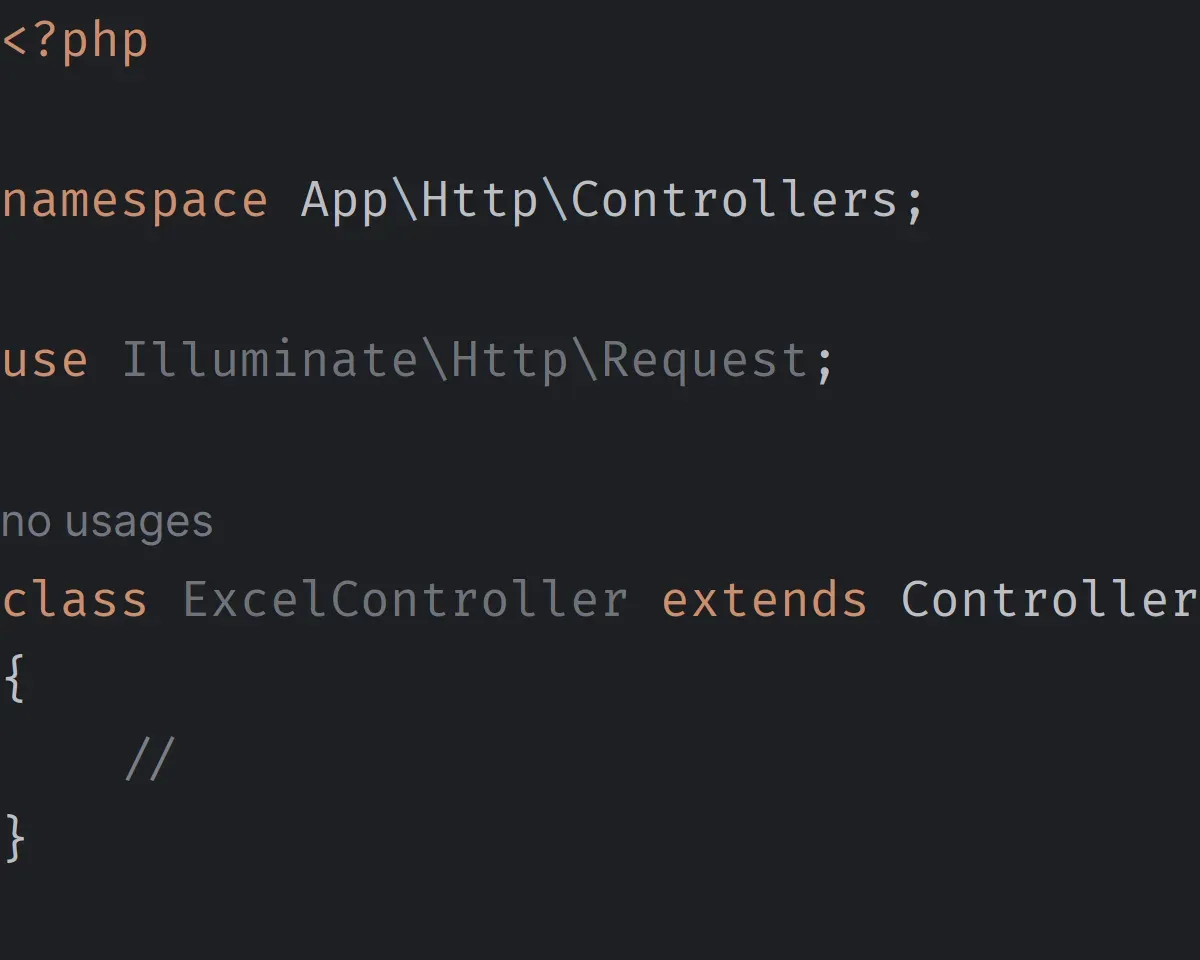
ExcelController.php
The controller is empty at this point, but we’ll soon fill it with the methods needed to handle file uploads, validation, and importing data from Excel files into your database.
With the controller in place, you now have a central point from which to manage all Excel-related operations in your Laravel application. The following sections will walk through how to wire up the import functionality and interact with Maatwebsite/Laravel-Excel from this controller.
5. Creating the Import Class
The real power of Maatwebsite/Laravel-Excel lies in its ability to let you define custom import classes. These classes act as the bridge between the Excel file and your database, dictating how the data should be interpreted and stored. By separating this logic into its own class, you maintain a clean, modular structure that makes scaling and long-term maintenance much easier.
To create an import class, first decide what kind of data you want to import. For example, if you’re building an application that manages users and want to import a list of them from an Excel file, you might create a UsersImport class.
To generate this import class, use the Artisan command provided by Laravel. From the root of your project, run:
php artisan make:import UsersImport --model=User
The --model=User argument tells Laravel that this import class will be associated with the User model. This is especially useful because the generated class will already contain a basic structure that maps Excel rows to instances of the User model.
The command above creates a new UsersImport.php file in the app/Imports directory. Opening it, you’ll find a basic structure that you can customize to your needs.
Creating this class is essential, as it’s where you’ll define how the Excel data should be interpreted and how it maps to your database. It’s the core of the import functionality and is where you’ll spend most of your time configuring and adjusting the import logic.
With the import class in place, you’re ready to move forward and customize how the data will be imported.
6. Configuring the Import Class
With your UsersImport class created, it’s time to configure it to dictate exactly how the Excel file’s data should be handled. This configuration is fundamental — it determines how rows and columns are interpreted and how they map to your User model.
Defining the Import Behavior
The Maatwebsite/Laravel-Excel package provides several interfaces (or “Concerns”) you can implement to define the behavior of your import class. One of the most common is ToModel, which lets you map each row from the Excel file to an Eloquent model instance.
Open UsersImport.php and modify the class to implement the ToModel interface:
use Maatwebsite\Excel\Concerns\ToModel;

class UsersImport implements ToModel
{
    ...
}
Mapping Rows to Models
Inside the class, define the model method, which determines how each row from the Excel file maps to a model instance:
use App\Models\User;
use Illuminate\Support\Facades\Hash;
use Maatwebsite\Excel\Concerns\ToModel;

class UsersImport implements ToModel
{
    public function model(array $row)
    {
        return new User([
            'name'     => $row[0],
            'email'    => $row[1],
            'password' => Hash::make($row[2]),
        ]);
    }
}
In the example above, each row from the Excel file maps to a new User model, where the first column is used as the name, the second as the email, and the third as the password (which is hashed using Hash::make).
Additional Customization
You may need to make further adjustments depending on your Excel file’s structure and your specific requirements. For example, you might want to add validation, skip certain rows, or handle events during the import process. Maatwebsite/Laravel-Excel offers a wide range of interfaces and methods that let you fully customize the import process.
With your import class configured, you’ve established a clear set of instructions for how the imported data should be handled. This level of detail and flexibility is what makes Maatwebsite/Laravel-Excel such a powerful and versatile package.
7. Importing the Data
With the structure and configuration in place, it’s time to perform the main action: importing the Excel data into your database. To do this, you’ll use the ExcelController you created earlier and the UsersImport class you just configured.
Import Method in the Controller
Inside your ExcelController, define a method responsible for the import. This method should receive the Excel file through an HTTP request, process it using the UsersImport class, and store the data in the database.
Open ExcelController.php and add the following method:
use App\Imports\UsersImport;
use Illuminate\Http\Request;
use Maatwebsite\Excel\Facades\Excel;

public function import(Request $request)
{
    // Validate that a file has been uploaded
    $request->validate([
        'file' => 'required|mimes:xlsx,csv'
    ]);

    // Import the file using the UsersImport class
    Excel::import(new UsersImport, $request->file('file'));

    // Redirect with a success message
    return redirect('/')->with('success', 'Data imported successfully!');
}
In this method:
- First, you validate that a file was uploaded and that it is of type
xlsxorcsv. - Then, you use the
Excelfacade to import the data from the file using theUsersImportclass. - Finally, you redirect the user to the home page with a success message.
Frontend Integration
For users to be able to upload Excel files, you’ll need a frontend form that lets them select and submit the file. Make sure the form points to the route that handles the import method in ExcelController.
For example:
<form action="{{ route('import') }}" method="POST" enctype="multipart/form-data">
    @csrf
    <input type="file" name="file" required>
    <button type="submit">Import</button>
</form>
This simple form lets users select an Excel file and submit it for import.
8. Frontend and Routes
With the import logic in place, it’s essential to give users a clean interface for uploading Excel files and make sure your application can properly handle those requests. This involves setting up the frontend and defining clear routes in Laravel.
Creating the View
First, you need a view where users can select and upload files. Although we showed a basic form example earlier, you may want to make it more polished and functional.
In the resources/views directory, create a new file — for example, import.blade.php. Inside it, you can design a simple page with the form:
@extends('layouts.app')

@section('content')
<div class="container">
    <h1>Import Users from Excel</h1>
    <form action="{{ route('import') }}" method="POST" enctype="multipart/form-data">
        @csrf
        <div class="form-group">
            <label for="file">Select an Excel file</label>
            <input type="file" name="file" class="form-control" required>
        </div>
        <button type="submit" class="btn btn-primary">Import</button>
    </form>
</div>
@endsection
This basic layout provides a title and a file input field, all within a typical Laravel Blade structure.
Defining Routes
For the application to respond to user requests, you need to define routes in Laravel that point to the appropriate actions in your controller.
Open routes/web.php and add the following routes:
use App\Http\Controllers\ExcelController;

// Route to display the form
Route::get('/import', [ExcelController::class, 'showImportForm'])->name('import.form');

// Route to process the import
Route::post('/import', [ExcelController::class, 'import'])->name('import');
The first route displays the import form, while the second handles the form’s POST request and carries out the import.
Additional Controller Method
Since we’ve added a route to display the form, we need a corresponding method in ExcelController:
public function showImportForm()
{
    return view('import');
}
This method simply returns the view that contains the import form.
9. Large Imports: Chunking and Validation
When an Excel file exceeds 5–10 thousand rows, loading everything into memory becomes a problem. maatwebsite/excel gives you two key tools: chunking and batch inserts.
Modify UsersImport to implement the WithChunkReading, WithBatchInserts, WithValidation, and WithHeadingRow interfaces:
namespace App\Imports;

use App\Models\User;
use Illuminate\Support\Facades\Hash;
use Maatwebsite\Excel\Concerns\ToModel;
use Maatwebsite\Excel\Concerns\WithBatchInserts;
use Maatwebsite\Excel\Concerns\WithChunkReading;
use Maatwebsite\Excel\Concerns\WithHeadingRow;
use Maatwebsite\Excel\Concerns\WithValidation;

class UsersImport implements ToModel, WithChunkReading, WithBatchInserts, WithValidation, WithHeadingRow
{
    public function model(array $row)
    {
        return new User([
            'name'     => $row['name'],
            'email'    => $row['email'],
            'password' => Hash::make($row['password']),
        ]);
    }

    public function chunkSize(): int   { return 500; }
    public function batchSize(): int   { return 500; }

    public function rules(): array
    {
        return [
            'name'     => ['required', 'string', 'max:255'],
            'email'    => ['required', 'email', 'unique:users,email'],
            'password' => ['required', 'min:8'],
        ];
    }
}
What changes:
WithHeadingRowlets you access data by column name ($row['email']) instead of by numeric index. Much more maintainable.WithChunkReadingreads the file in blocks of 500 rows, preventing memory exhaustion.WithBatchInsertsexecutesINSERTstatements in batches rather than one per row.WithValidationvalidates each row using the same rules you’d use in your FormRequest classes.
For very large files, you can also queue the import:
use Maatwebsite\Excel\Facades\Excel;

Excel::queueImport(new UsersImport, $request->file('file'));
The import will be processed in the background using your queue driver (Redis, database, SQS). This is practically mandatory for files with more than 50,000 rows.
10. Alternative: OpenSpout for Very Large Volumes
maatwebsite/excel relies on PhpSpreadsheet, which is very feature-rich but memory-hungry. If you only need to read/write simple CSV or XLSX files at maximum speed, OpenSpout (the maintained fork of Box’s old Spout library) is noticeably faster and uses less RAM, at the cost of fewer formatting features.
composer require openspout/openspout
use OpenSpout\Reader\XLSX\Reader;

$reader = new Reader();
$reader->open(storage_path('app/users.xlsx'));

foreach ($reader->getSheetIterator() as $sheet) {
    foreach ($sheet->getRowIterator() as $row) {
        $cells = $row->getCells();
        User::create([
            'name'     => $cells[0]->getValue(),
            'email'    => $cells[1]->getValue(),
            'password' => Hash::make($cells[2]->getValue()),
        ]);
    }
}

$reader->close();
Rule of thumb:
- Up to ~50k rows, or if you need complex validations, styles, and multiple sheets →
maatwebsite/excel. - More than 50k rows, or data pipelines where speed is all that matters → OpenSpout.
Conclusion
Importing Excel files in Laravel 13 is a task that maatwebsite/excel handles elegantly, and for small to medium-sized files it remains the best option in 2026. When you start dealing with tens of thousands of rows, remember to enable chunking + batch inserts and consider queuing the import. And if you ever need to process millions of rows, give OpenSpout a shot.
If you’re building an admin panel with bulk imports, you might also be interested in How to Optimize Your Laravel Project’s Performance to get the most out of Octane and FrankenPHP.
Did this guide work for you? Share it — cheers!