How to Install Laravel 13: Quick Guide with Composer and Herd (2026)

If you landed here looking for how to install Laravel, this guide is up to date for Laravel 13, the version released in March 2026. You’ll find two paths: the classic one with Composer (works on any operating system) and the faster one with Laravel Herd (ideal on Windows and macOS).
Prerequisites
Laravel 13 officially requires PHP 8.3 as the minimum version, although from Laravel 13.3 onwards Symfony 8 dependencies make PHP 8.4 a practical requirement. The recommendation for new projects in 2026 is PHP 8.4 or 8.5.
- PHP 8.4 (or higher)
- Composer 2.7+
- A database: MySQL 8, MariaDB 11, PostgreSQL 16, or SQLite (enough to get started)
- Node.js 22 LTS if you plan to compile assets with Vite
To verify your versions:
php -v
composer --version
Option A: Install with Composer
This is the universal approach and the one the official documentation recommends.
1. Install Composer
If you don’t have it yet, download it from getcomposer.org. On Windows the installer detects your PHP automatically; on macOS/Linux the official script is all you need.
2. Create a new project
composer create-project laravel/laravel my-project
Replace my-project with whatever name you prefer. Composer will download the Laravel 13 skeleton and all its dependencies.
3. Enter the project and start the server
cd my-project
php artisan serve
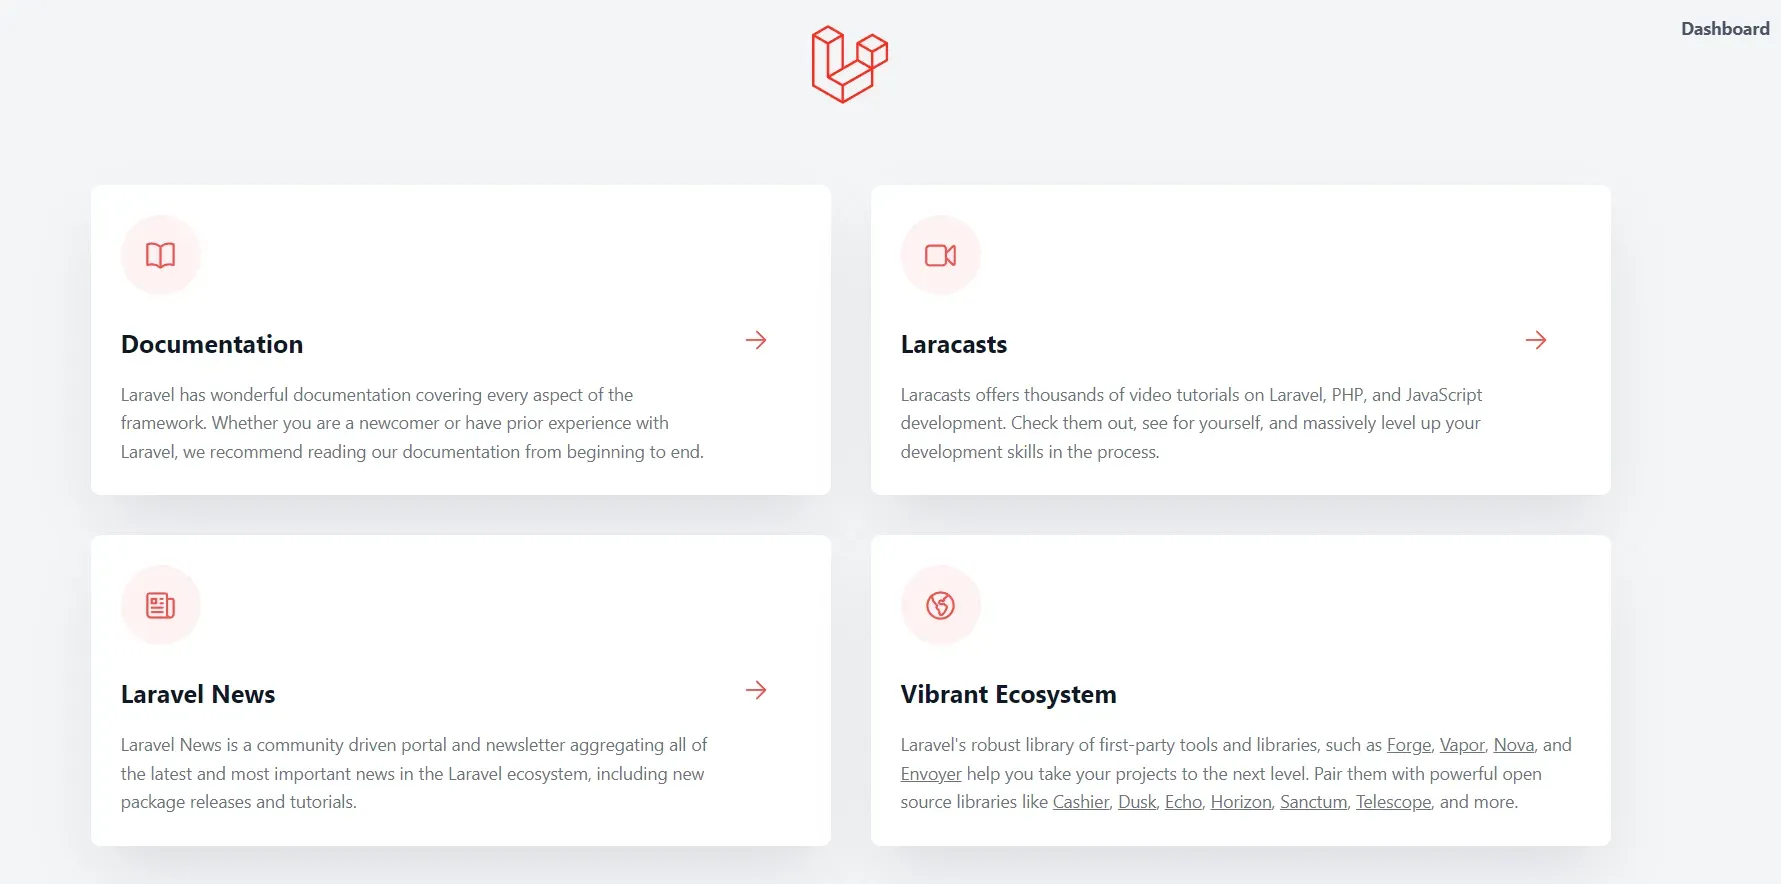
Visit http://localhost:8000 and you’ll see the Laravel welcome page.
Option B: Install with Laravel Herd
Laravel Herd is the fastest way to get a PHP environment up and running in 2026: it ships PHP, Nginx, Node, and a built-in Laravel installer, all in a single desktop app.
- Download and install Herd (free for Windows and macOS).
- Open Herd and confirm it recognizes PHP 8.4.
- In your terminal:
laravel new my-project
cd my-project
herd open
Herd opens http://my-project.test directly — no need to run artisan serve.
Useful commands after installing
# Run database migrations
php artisan migrate

# Create the environment file and app key (if needed)
cp .env.example .env
php artisan key:generate

# Start Vite for asset compilation
npm install
npm run dev
Next step
With Laravel 13 installed you can jump straight into building your first REST API. I recommend continuing with How to Build a REST API with Laravel to understand the flow of routes, controllers, and API Resources, or check out How to Build an AI Agent with Laravel and MCP if you want to take advantage of the new Laravel AI SDK included in this version.
Any errors during installation? Drop them in the comments and we’ll sort it out.